| Permalink: |
Uploading documents to the Verification Centre
You can upload scan copies of documents on the Verification Center's website (see the instructions below), as well as from WM Keeper Standard and WebMoney Keeper mobile applications (section "Settings" - "Account").
To upload a document do the following:
1 Log into the Verification Centre site
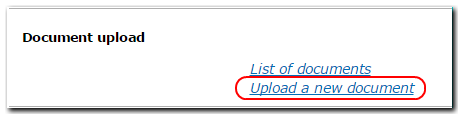
2 Choose the "Control panel" -> "Document upload" and press "Upload new document".
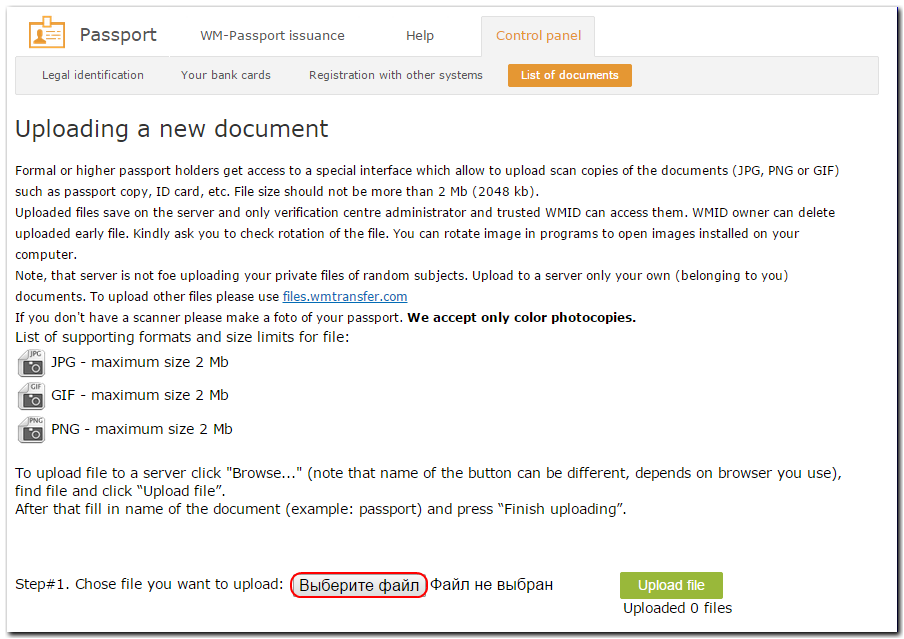
3 Next press "Browse".
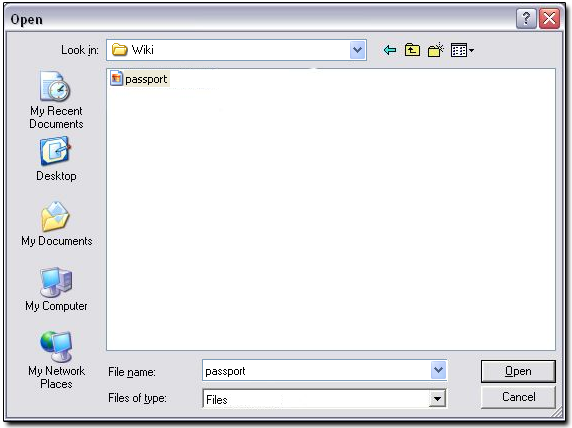
4 Select the necessary file in the dialogue box that appears and press "Open".
ATTENTION:
Only COLOR copies are accepted.
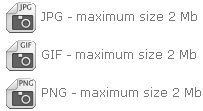
The list of supported formats and the maximum file size restrictions are as follows:
5 Next, press "Upload file".
6 Enter the name of the document and the purpose of uploading the file.

7 If the upload is successful, you will receive the following notification:

8 After uploading the files, all of the files you uploaded will appear in the "Control panel" -> "List of documents."

9 Once your documents are verified, they will be marked in green and have the  sign
sign

At the same time, the corresponding logos of the verified documents will appear on the page of your WebMoney passport.
You can open the page of your WebMoney passport by the following link
https://passport.wmtransfer.com/asp/CertView.asp?wmid=xxxxxxxxxxxx or
https://passport.wmtransfer.com/asp/CertView.asp?purse=Ayyyyyyyyyyyy
xxxxxxxxxx is your WMID number,
Ayyyyyyyyyyyy is your WM-purse number
If your documents have not been checked within 10 working days after uploading, you can ask the administrator of the Verification Center about the reason by creating a ticket on this page
See also:
Verification Centre